Payment Web Component
Overview
Monite provides an embeddable Payment component that allows our partners to build a custom invoice payment and BillPay experience into their applications or websites. The Payment component is an alternative to hosted payment pages, and allows users (entities or their counterparts) to make payments without leaving your application.
From an integration perspective, using the Payment component requires:
- Server side: to generate a payment link ID, receive webhooks about the payment status, and (optionally) customize the look and feel of the Payment component.
- Client side: the Payment component handles all necessary payment-related requests and validates the inputs.
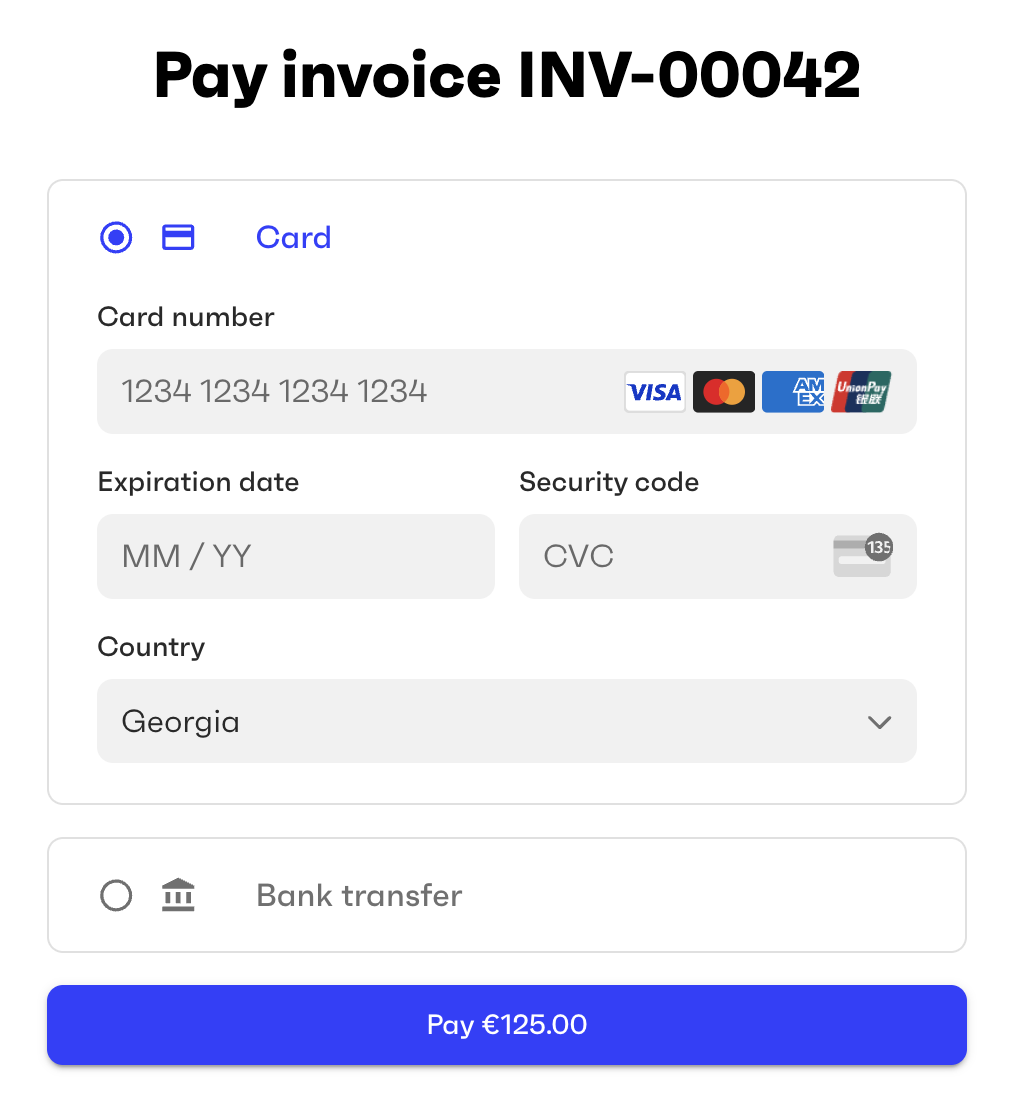
Payment methods
The payment methods displayed by the component are configured when you generate a payment link ID for this component, as explained below.
Additionally, the entity that will receive or make the payment:
- Must have the necessary payment methods enabled. See Enable payment methods for an entity.
- Must have completed the onboarding (if any) required by those payment methods.
Usage
Embedding the Payment component into your web page requires just two lines of code.
First, import the Payment component’s module:
Then initialize the Payment component:
The PAYMENT_LINK_ID must be generated in advance by calling POST /payment_links with your partner access token. Payment links can be created for Accounts Payable invoices (entity pays), Accounts Receivable invoices (entity gets paid), or arbitrary monetary amounts (entity pays or gets paid). For more information, see Payment links.
In the body of the POST /payment_links request, specify the payment methods you want to display in the component (assuming these methods are already enabled for the entity).
The following example creates a payment link ID for an external invoice that an entity issued to its counterpart. The counterpart is supposed to use your payment page to make the payment to the entity.
The response from POST /payment_links contains a unique id. This is the ID you need to pass to the Monite Payment component via the <monite-payment link-id="PAYMENT_LINK_ID" /> tag on your payment page.
Customization
The look and feel of the payment component can be customized to match your branding. The colors and other styling options are controlled by the partner setting payments.payment_page_theme, which you can change by calling PATCH /settings. For details, see Payment page customization.