Entity onboarding for payments
Overview
To enable an entity to use Monite payment rails, you have to onboard this entity. The onboarding process consists of providing a set of legally required information that will allow the entity to accept or make payments.
There are several ways to onboard an entity, depending on the entity country and whether the partner wishes to use Monite-provided UI or build their own UI.
Enable payment methods
The first step of an entity’s payments onboarding is to choose the desired payment methods for accepting and making payments. The selected payment methods determine the required onboarding information for the entity.
Partner onboarding
Monite partners themselves must provide certain information before they can integrate payments:
- To use payment links, the partner must provide their logo and website URL for the “Powered by” badge displayed in the payment page footer.
- To enable UK entities to accept Bacs Direct Debit payments, the partner must provide a support email address. This email address will be included in Bacs debit notification emails sent to the payers, as the contact email address where the payers can send payments-related inquiries.
Upload partner logo
To upload your logo, use the Partner Portal:
-
Log in to the Partner Portal (sandbox, EU production, or US production, depending on the environment you’re using).
-
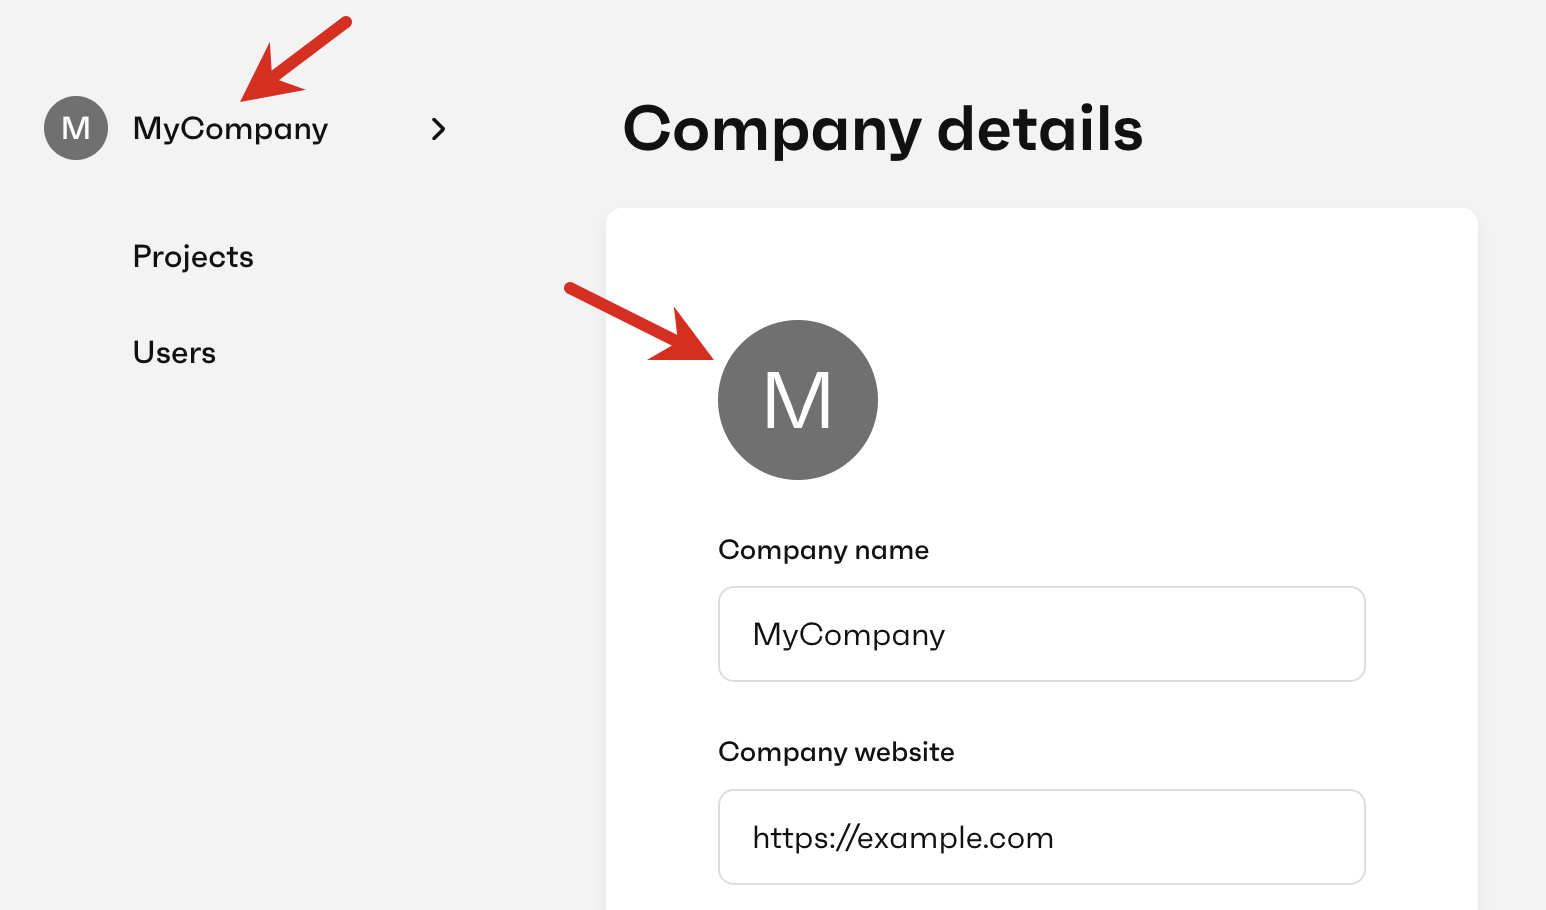
Click your company name in the navigation.
-
In the Company details section, click the logo area to upload your logo.
-
Click Save changes.
Specify partner website and support email address
Both values are part of partner settings. To set them, call PATCH /settings with the following fields in the request body:
website- must be an HTTPS URL.payments.support_email